
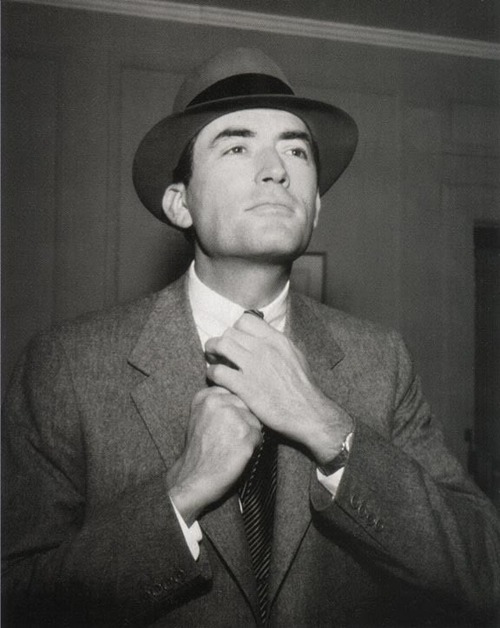
Tying a tie is a fantastic and handy skill for guys and gals alike! I know that wearing a bowtie is one of my new loves, and I like being able to tie a tie for my love! Anndd for any of you Easter brunch-goers, this will come in handy this very weekend! And for everyone else, you will surprise yourself how often this can come up!


I picked three different kinds of knots: the regular, the windsor, and the bowtie! They break down as follows:
The Regular (Or Half-Windsor): This is a medium symmetrical triangle, your basic tie and great for standard shirt collars
The Windsor: This is a wide and triangular knot, great for low or wide-spread collar shirts (or if you're just feelin fancy)
The Bow Tie: For the particularly Dapper Dan, this is great for dressier events, suits or tuxedos, costumes, or for girlies this is great to spice up a blouse or even put in your hair!

How To Tie A Regular Tie Knot:
1. Cross the large end over the small end
2. Then cross it behind the small end
3. Then cross it over the front again
4. Then over the top, which creates a loop on the front
5. Pull through the loop!
6. Admire your snazzy self!
How To Tie A Windsor Knot:

2. Bring the wide end up through the loop between your collar and the tie
3. Then bring the wide end back down
4. Pull the wide end underneath the narrow end and to the right, back through the loop and to the right again so the wide end is inside out
5. Bring the wide end across the front from right to left
6. Then pull the wide end through between the collar and tie again, then through the knot in the front
7. Tighten the knot, drawing it up, and admire!

1. Place the tie around your neck and situate it so that the left side "A" is about 2" longer than the other side, "B"
2. Cross A over B and bring it up and under the loop between the collar and the tie
3. Now fold the short end, B, over itself, forming the front base loop of the bow tie
4. Loop A over the center of this loop
5. Holding everything securely in place, double A back on itself and poke it through the loop behind the bow tie, creating the bow
6. Adjust by tugging on either side and straightening the center knot! Check out that snazzy tie!
For further instruction on tie-tying, and probably more helpful instructions than I can ever give, check out Tie-A-Tie.net! Here you can satisfy all your imaginable tie-tying needs!
Now go forth properly attired and properly tied!
Have a great weekend!

No comments:
Post a Comment